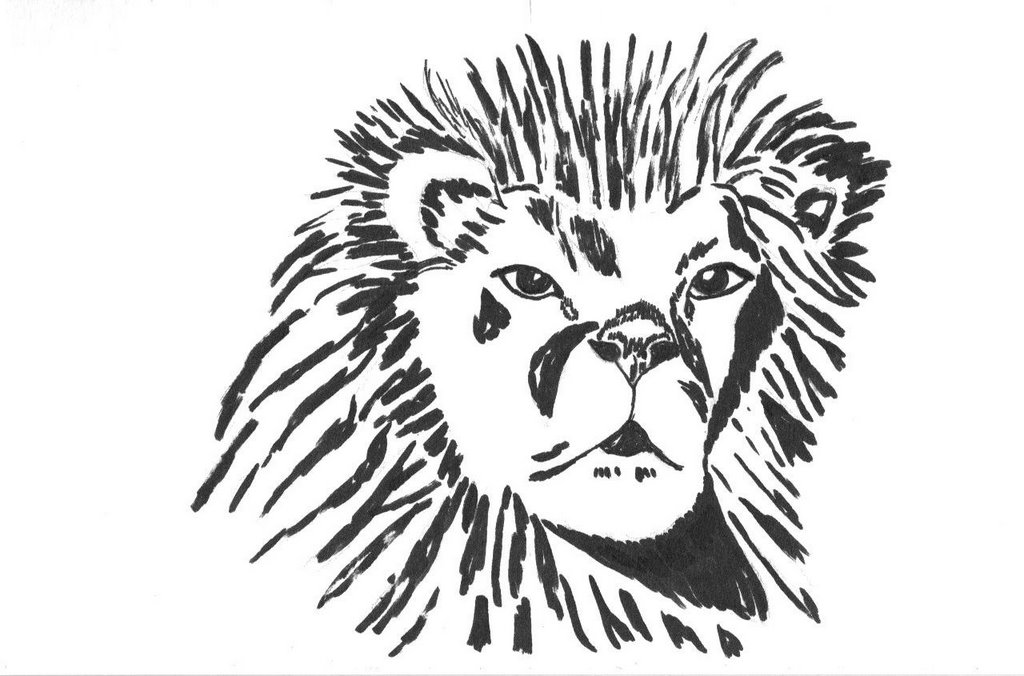
Chiaroscuro Lion
This is my first chiaroscuro. It was done for my online sketching class. It was fun and now I'm eager to try another one, but I'll wait for Kate's critique as I'm not sure this is correct.
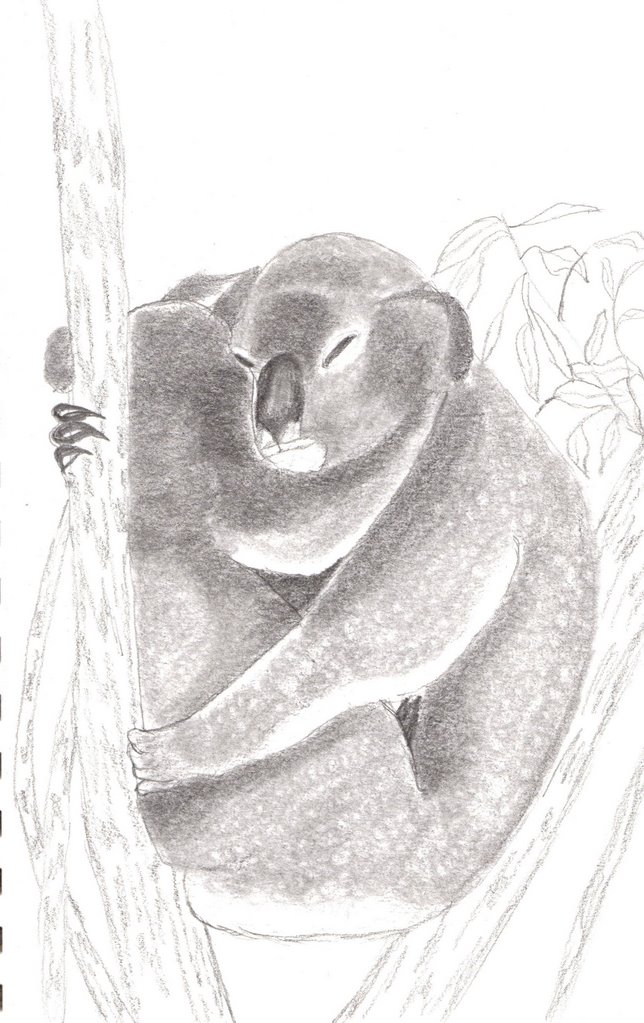
 Young Koala The wonderful photo for this young koala was taken by Susan at http://www.flickr.com/photos/tiger_empress/ who so graciously gave me permission to sketch this little cutie! He/she is now sleeping on his own, without the arms of mama around him. Thank you, Susan! Your photos are SUPERB!!
Koala Mama and Baby Sleeping
Isn't this just the cutest pose! I found the reference photo on Yotophoto and couldn't resist drawing it. This is still a work for lesson 2 -- I drew upside down again (LOVE that method!!), plus there were some negative spaces that I watched for and measured against, I used a variety of ways of holding the pencil, and blended in a circular motion using a tortillon to get the look of dense fur.
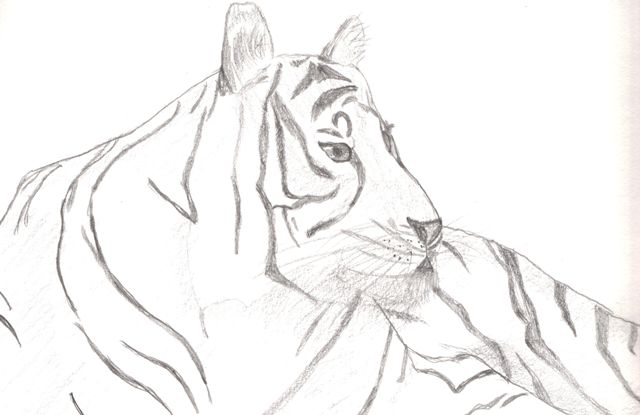
Tiger
This was drawn upside down - no, I wasn't upside down, the photo reference and my sketch pad were upside down. The object of this lesson 2 exercise is to train one to draw what is seen - not what the brain tells us something should look like. An excellent exercise to stimulate the eye/hand and bypass the brain. I found the photo reference on WetCanvas--such an excellent source for photos!!
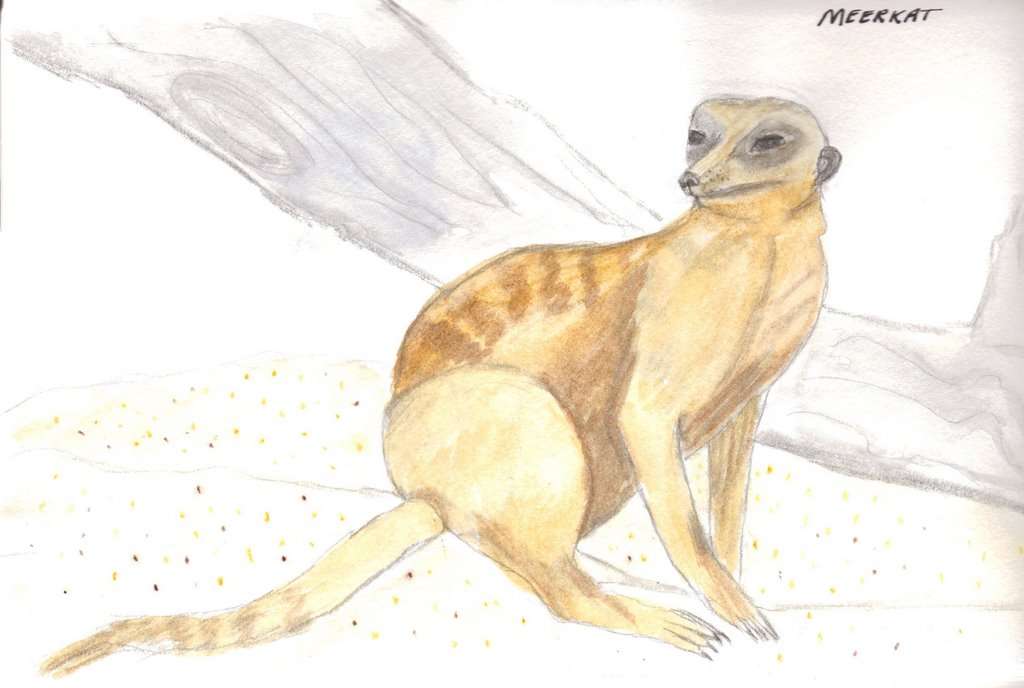
Meerkat
I just love these little creatures! I'm so addicted to the Animal Planet show, "Meerkat Manor." LOL!! I found the reference photo in WetCanvas. This was originally done first as a sketch for my sketching class, then I added light watercolor. This was done in an Aquabee Sketch Pad and it's the first time I've used watercolor in it so I wasn't sure how well it would take water -- it did great, but I did work with a light touch and very little water. The original sketch was a practice with gesture sketching and also negative space (the triangular spaces within the legs). I'm still getting accustomed to my new scanner, the pigments on the meerkat came out pretty true, but the dead tree in the background has a little more detail in real life and the spatters on the foreground are more pronounced. For the spatters, I used watercolor pencils -- just dabbed some random dots and then used a wet brush on them. This technique worked pretty well! I didn't have to worry about getting spatters on the meerkat.
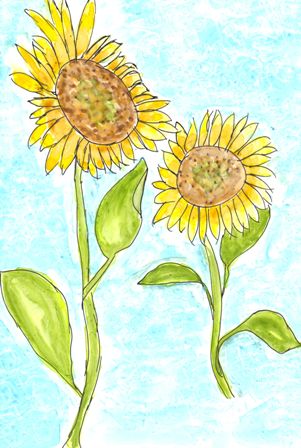 Yupo Sunflowers
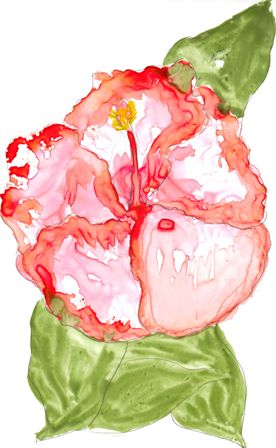 Hibiscus On Yupo
Morning Quiet Place
The November theme in Kate's alumni group is things we are thankful for. I have a chair in my living room where I read my bible and pray in the mornings. There are many objects in this painting that are symbolic for things I am thankful for in my life. I love America, I am so thankful I live in a country where I am free to own a bible and I am free to read it. I'm thankful that the word of God has been preserved for us and that the wisdom found in it pertain to all times, all generations and all situations. I'm thankful my husband shares my faith and respects my quiet place. I'm thankful I have raised my children and I no longer have to hurry through my morning quiet time. I'm thankful for electricity and while I love my oil lamp, I'm very thankful I don't have to rely upon it for light to read! I love the doily the lamp sits on and I am thankful for an aunt who taught me to crochet when I was 12 years old. One final note. . . the colors in this did not scan true, IRL the chair is a merlot color.